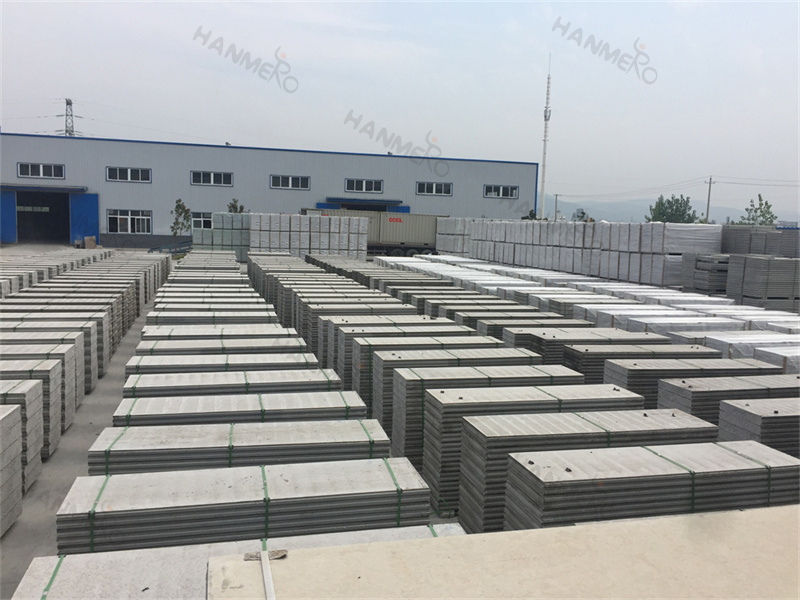
Many first time users of EPS Cement Sandwich Wall Panel worry that the installation process is too complicated to handle without professional experience, but in fact, with the right preparation and clear operation steps, even beginners can complete a high quality wall installation smoothly. Before you start any installation work, the first step is to make a full preparation for the construction site. You need to clean up the ground where the wall will be built, mark the accurate position lines for the panel placement, and check that all the delivered EPS Cement Sandwich Wall Panel products are free from cracks, deformation or surface damage during transportation. It is also necessary to prepare the matching special adhesive, fixing accessories, cutting tools and safety protection equipment in advance, so that you will not interrupt the construction process to look for missing materials.
The second step is to cut the EPS Cement Sandwich Wall Panel to fit the actual size of your site. You can use a portable electric cutting saw to cut the panel according to your pre-measured dimensions, and remember to wear a dust mask during the cutting process to avoid inhaling fine cement dust. After cutting the panel to the right size, you need to apply a uniform layer of special adhesive on the bottom edge, top edge and the side that will connect to the adjacent panel. Then place the panel on the pre-marked position line, adjust its verticality with a level ruler, and fix it firmly with the special connecting parts between the panel and the ground or the top beam. Leave a small gap of about 5mm between each panel, and fill the gap completely with the anti-crack caulking material to prevent future crack problems.
After all panels are installed in place, the third step is to do the joint treatment and surface finishing work. Paste the anti-crack mesh tape on all the seams between EPS Cement Sandwich Wall Panel products, and then apply a thin layer of surface leveling mortar to make the whole wall surface smooth and flat. After the mortar is fully cured for 2 to 3 days, you can proceed to your follow up decoration work, such as painting, tiling or installing wall cabinets. The most common mistake beginners make is not leaving enough expansion gaps around the wall, which may lead to slight deformation when the temperature changes greatly. By following this step by step guide, you can get a flat, stable and durable wall that can serve your building for more than 50 years.