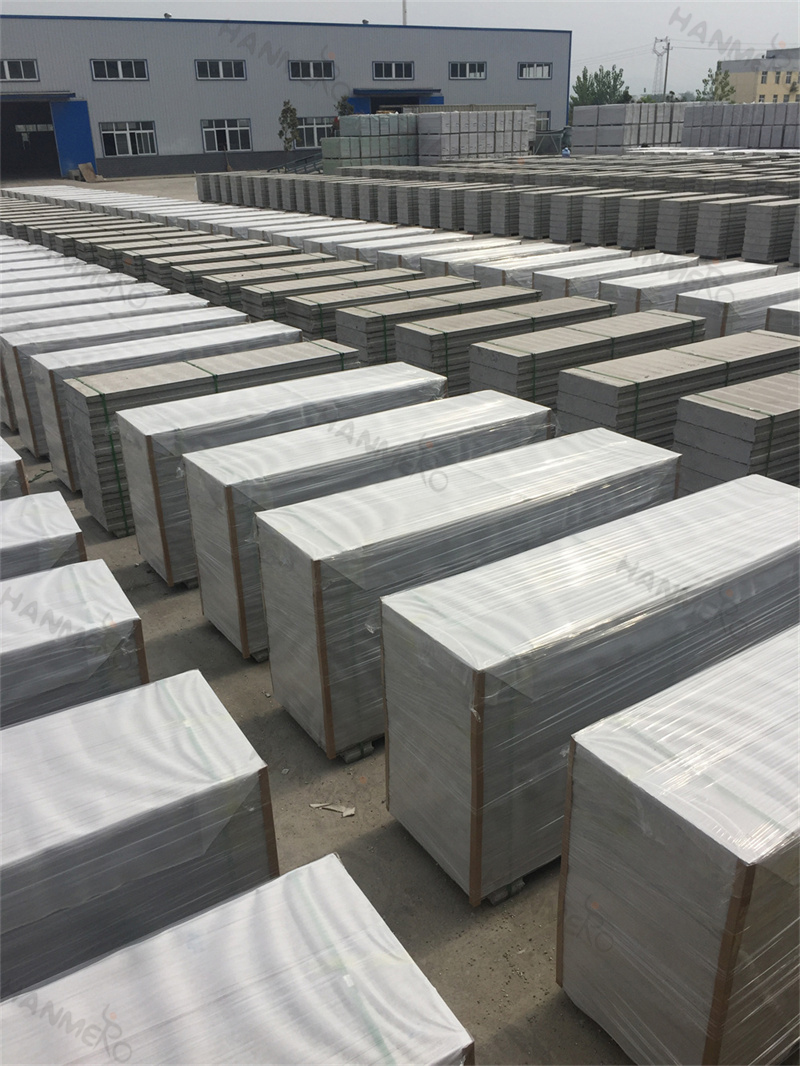
Correct installation is the key to making sure EPS Cement Sandwich Panel delivers all its expected performance advantages, from structural stability to sound insulation and fire safety. Before you start installation, you need to prepare the construction site properly: make sure the floor and top beam positions are clean, flat, and marked with accurate wall center lines and panel layout lines. You should also check all panels for any visible cracks, damage, or size errors before lifting them into place.
The first step of installing EPS Cement Sandwich Panel is to fix the top and bottom connection tracks on the floor and the bottom of the floor slab above. Then, lift the first panel into the track, adjust it to a perfectly vertical position, and connect it securely to the adjacent panel through the specially designed tongue and groove joint. All panel joints should be filled with special matching mortar or adhesive to ensure the whole wall forms a continuous, solid, and seamless structure.
After all EPS Cement Sandwich Panel units are in place, you can install embedded parts for doors, windows, and pipelines. Unlike traditional brick walls, you can easily cut slots and openings on the panel surface without damaging the overall wall strength. Once all pipelines are finished, you can apply joint treatment, lay mesh cloth to prevent cracking, and then proceed to surface decoration work. Following this standard installation process will help you avoid common problems such as joint cracking, wall misalignment, and poor sound insulation performance, ensuring your EPS Cement Sandwich Panel wall stays stable and durable for decades.